I was showing my friend how to make kimchi today, and we took step-by-step photos. I told her I'd upload these pictures somewhere so she can use them as a reference for next time, and then I thought..."I like cooking, taking pictures of food and swapping recipes with people. I have a bunch of food blogs which are bookmarked. Why don't I make one too?" So I did!
If you're not familiar with it,
kimchi is a Korean fermented vegetable dish, the most common type made with cabbage, which is the type this recipe is for.
This is possibly the most comprehensive method to making kimchi on the internet, so you shouldn't run into any problems...but if you do need clarification about anything, please don't hesitate to ask :) The recipe is for 2 medium sized Chinese cabbages (25-30cm tall). Apologies for the American cup measurements, but this really doesn't need to be accurate, as you can tweak it to your individual taste.
Ingredients2 Chinese cabbages
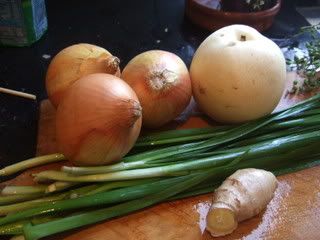
2 medium sized onions
Half a bunch of Chinese chives
A 2-3cm long piece of ginger
300g mashed frozen garlic
1 Asian pear
1/2 cup of fish sauce
1 cup of Korean chilli powder (gochugaru)
1 1/4 cups of coarse salt (yes, I know this sounds horrendous, but don't worry!)
Method1. Cut the cabbages into quarters. Dissolve 1/2 a cup of salt in 1L of water, and pour into a large container (A washing up bowl is perfect, as it's large enough that nothing will spill out when you're mixing later on). Dunk each quarter of cabbage into the water, making sure that the whole thing gets wet before you remove it. Repeat for all the pieces of cabbage.
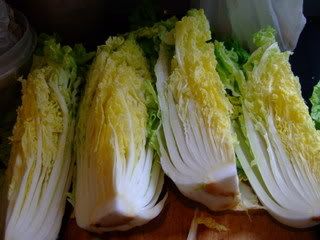
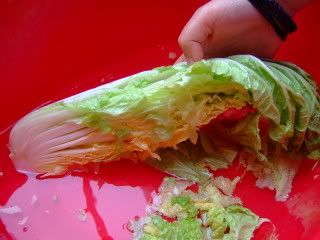
2. Drain the salt water from the container, and then sprinkle the coarse salt (about 1/3 of a cup) all over the pieces of cabbage, making sure you get it in between the leaves. We didn't use all the salt, so you need to use your discretion here; it should only be a thin layer. Just to clarify, quite a lot of this salt will be washed off later...although kimchi is salty, it's not THAT salty!
3. Cover the container that the cabbages are in, and make sure pressure is applied on top.
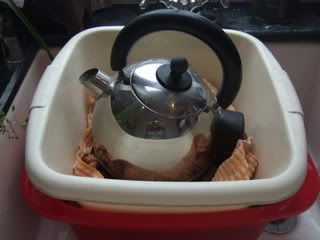
Note the very advanced method we used, as is shown in the picture. Then leave it for 5-6 hours...use this opportunity to relax and take time out from the world (or to go buy the rest of your ingredients if you haven't already).
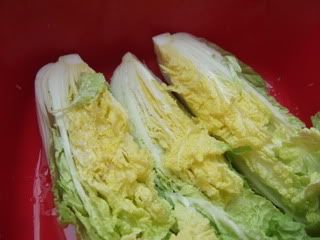
Once the cabbages are done, they should be floppy, and you should be able to squish the leaves without them crunching and breaking.
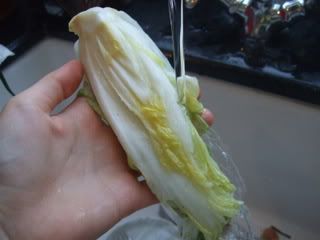
4. Rinse the cabbage of the salt, squeeze the water out of the leaves, and place in a colander to let the excess water drain off.
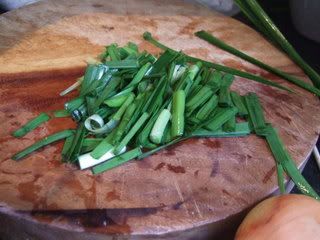
5. While the cabbages are draining, start chopping the other vegetables. Sorry about the slightly anal measurements, they're simply there as a guide, so you don't end up eating a fat piece of ginger whilst eating your kimchi (if you love big chunks of ginger, then by all means cut it larger).
Onions (thin strips) Chives (2cm lengths)

Pear (peel, core and chop into matchsticks...yes, I fully admit I was shit at cutting this pear, I couldn't find the corer and it ended up all odd and wonky)
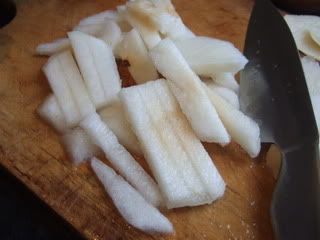
Ginger (1cm strips)

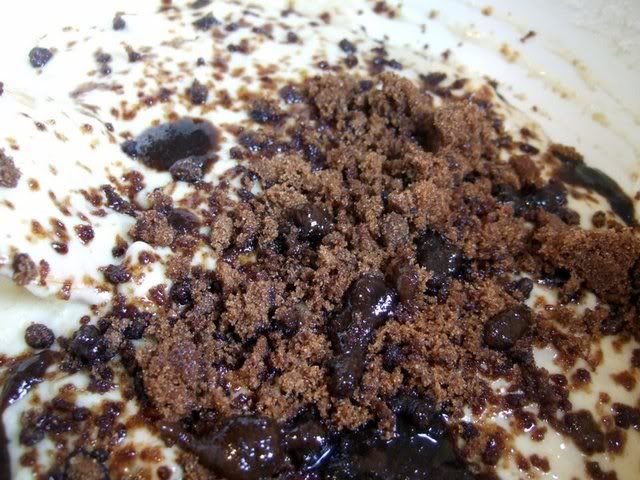
6. Transfer the veggies to the container which the cabbages were in. Add the garlic - We went to the Korean food shop and bought a box of frozen crushed garlic, as we are lazy. If you're putting in fresh garlic, I'd say put in 1-2 bulbs, as this will be stronger.
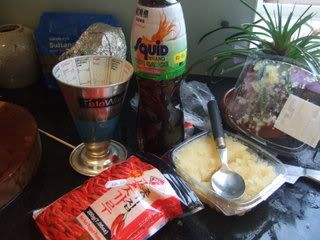
Add the fish sauce - Although it's better to use Korean anchovy extract, we used Thai fish sauce, as I had this at home and we are poor students on a budget :)

Add the chilli pepper - This we did buy from the shop, as I really don't know about how good it is to substitute the pepper. If you need to, I would research this, as the hotness of different types of chilli peppers range, so you'd need to adjust the recipe.
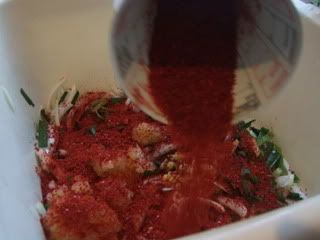
[We also added a bit of water, to make the mixture a bit more paste-like]
7. Cover the cabbage quarters with the mixture. You might want to use gloves, as it'll get messy, and reduce the risk of killing your eyes when you rub them later on, after not removing every trace of chilli from your hands. Make sure you coat all the leaves, and stuff some of the other vegetables in between them.
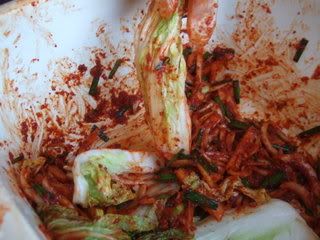
Then fold the floppy, greener leaves at the top of the cabbage underneath it and place in a large, airtight container.
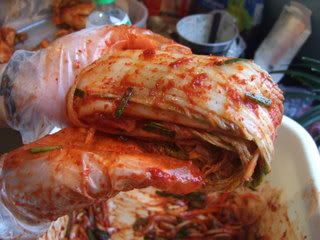
Repeat, and then cover the cabbages with the rest of the mixture.
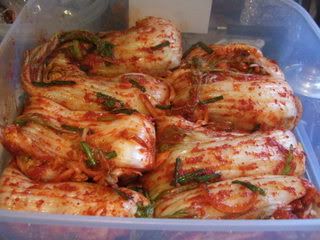

8. Cover the top of the container with cling film, close the lid, and leave in a cool, dark place for 1-2 days. Then transfer the container to the fridge, and leave for a few more days before eating (just use your own judgement, if you're interested in making this, chances are you know what kimchi should taste like. If you don't think it's done then leave it a little longer).
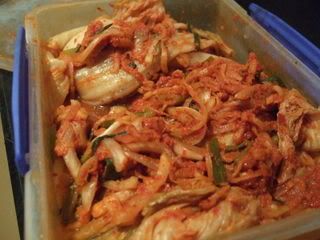
And here's some I made earlier...